

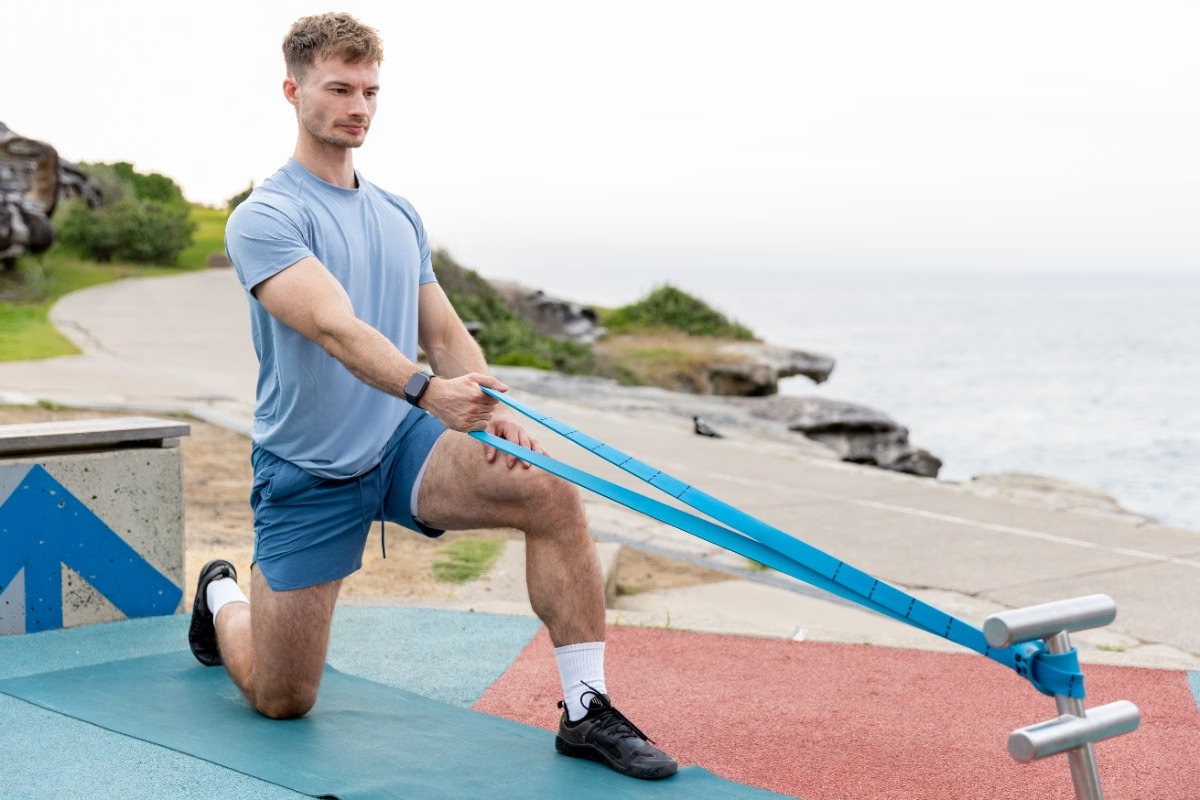
Resistance bands earn their place for four real reasons: they’re joint-friendly for mobility and rehab work, they pack flat for travel, they add accommodating resistance to strength training, and they’re the standard way to assist or resist bodyweight moves like pull-ups. The catch with plain bands is remembering exactly which one you used last time — without that, you can’t actually track progress.
What Resistance Bands Are Actually Good For
Bands get lumped in as a “beginner” tool, which undersells what they actually do well. Four genuine use cases cover most of why people own them:
Mobility and Rehab
Band-resisted shoulder and hip work is a physio-clinic staple for a reason — you get controllable, low-impact resistance through a joint’s full range without loading a barbell onto a compromised area. This is the entry point for most people who buy their first band, whether that’s post-injury or just chasing better shoulder health.
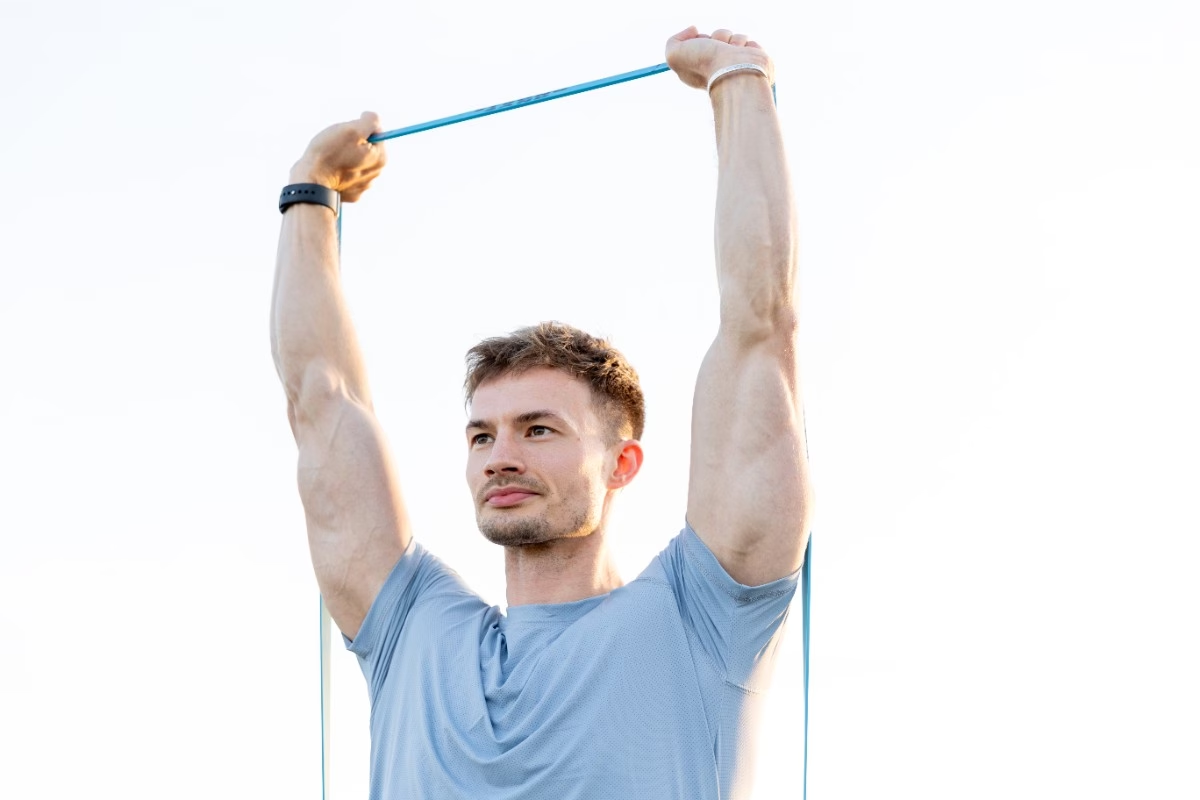
Travel-Friendly Training
A set of bands weighs less than a phone charger and rolls up small enough for a carry-on. For anyone who trains consistently but travels for work, this is the difference between a missed week and a maintained one.
Functional Strength Training
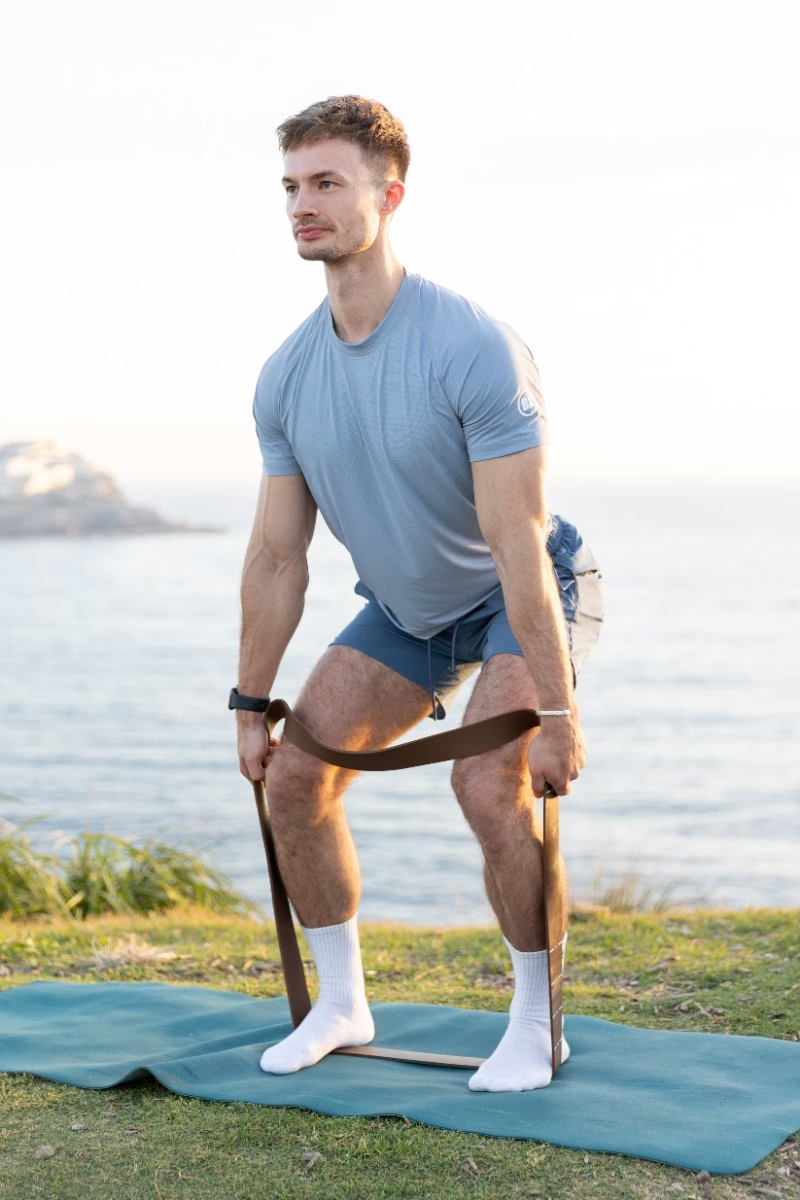
Bands add “accommodating resistance” — the band gets harder to stretch the further you pull it, so resistance increases through the exact part of a movement (like a squat’s lockout) where your leverage is strongest. Lifters loop them onto barbells for squats, deadlifts and bench press specifically for this effect; you don’t need a barbell to get some of the same benefit with banded-only movements.
Assisted and Resisted Calisthenics
This is the use case with the most day-to-day demand: looping a band under your feet or knees while gripping a pull-up bar subtracts a portion of your bodyweight, letting you do full reps while you build toward doing them unassisted. It works in reverse too — anchored bands can add resistance to push-ups or dips once bodyweight alone isn’t enough of a challenge. If pull-ups are the actual goal, see where you should realistically be for your age first, then our dedicated guide to band-assisted pull-ups for how to actually use the assistance to get there.
Why Progression Is the Hard Part With Bands
Every band-training method above shares the same weakness: a plain resistance band gives you almost no way to know how hard you’re actually working, or to prove you’re working harder than you were a month ago. Weights have numbers stamped on them. Bands, by default, don’t — you’re left eyeballing thickness and hoping you remember where you grabbed on the band on the last session.
That’s a real problem if you’re serious about progressive overload (gradually increasing the demand on a muscle over time) rather than just moving for the sake of moving. Without replicating your setup, band training tends to be hit and miss.
MFO Featured Aussie Product
Strong Band Progress Lines
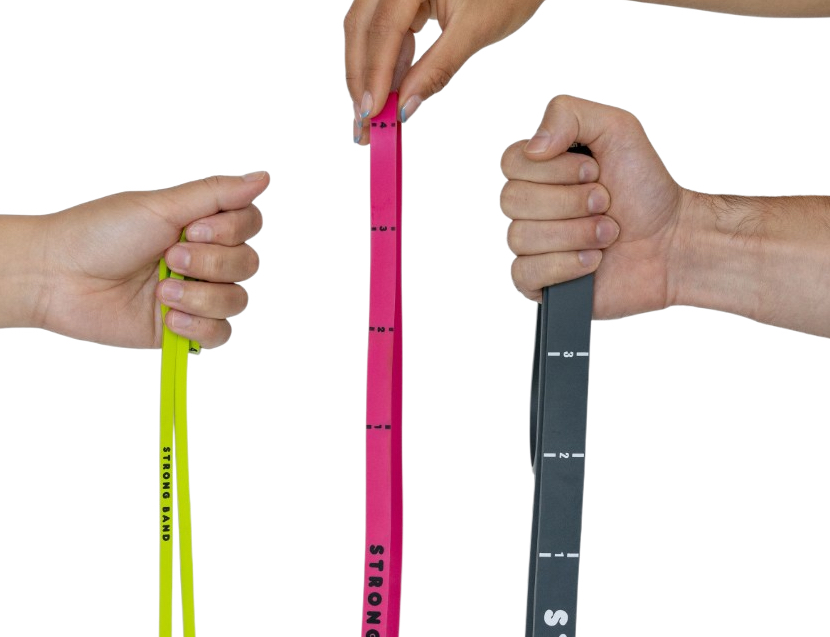
The problem with a plain band is you can never quite remember where you grabbed it last time. Strong Band fixes that with marked reference points — up to 15 levels per band — so you can log your setup and actually track progress instead of guessing.
Founded by two Sydney-based trainers, Matt Van Mol and Cyan Koay, after running their own band classes in Bondi. We like backing Aussie-founded fitness businesses designed by people who actually coach with the product. We used it for a week of testing across mobility work, banded squats and assisted pull-ups. The gradings were a real benefit across days.
Disclosure: Strong Band sent these bands to Men’s Fitness Online for testing at no cost.
If pull-ups specifically are the target, don’t stop here — the full band-assisted pull-up progression is covered in its own guide.
7 Resistance Band Exercises to Start With
One band and these seven moves cover chest, back, shoulders, arms and rear delts — a genuine full upper-body session without a single piece of gym equipment.
1. Resistance Band Chest Press
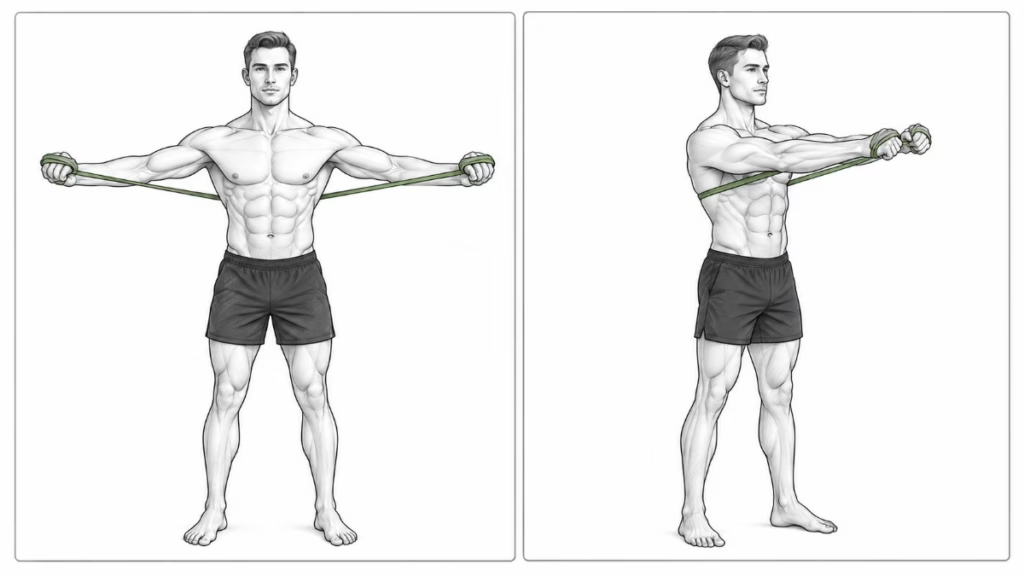
Loop the band behind your back, under both arms, and hold one end in each hand at chest height with elbows bent. Push both arms forward until they’re fully extended, pause, then return with control. Keep your shoulders relaxed and don’t lock the elbows out hard at the top — slow and controlled beats fast every time with a band.
2. Seated or Standing Rows
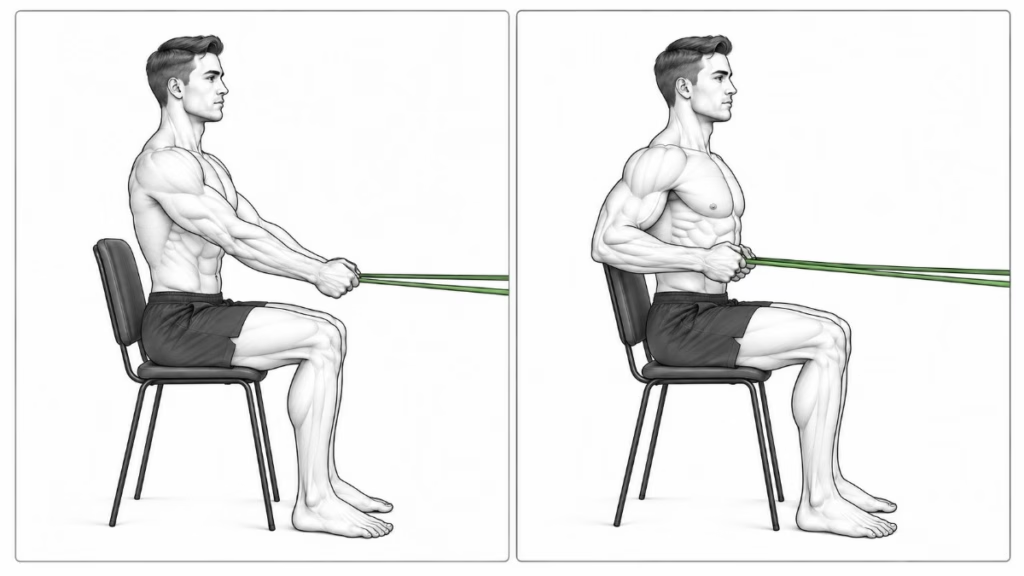
Anchor the band to something stable at knee height, sit or stand tall, and start with arms extended toward the anchor. Pull your elbows back until your hands reach your body, squeezing your shoulder blades together at the end of the movement. Keep your chest up throughout — don’t let your shoulders creep up toward your ears as you pull.
3. Shoulder Press
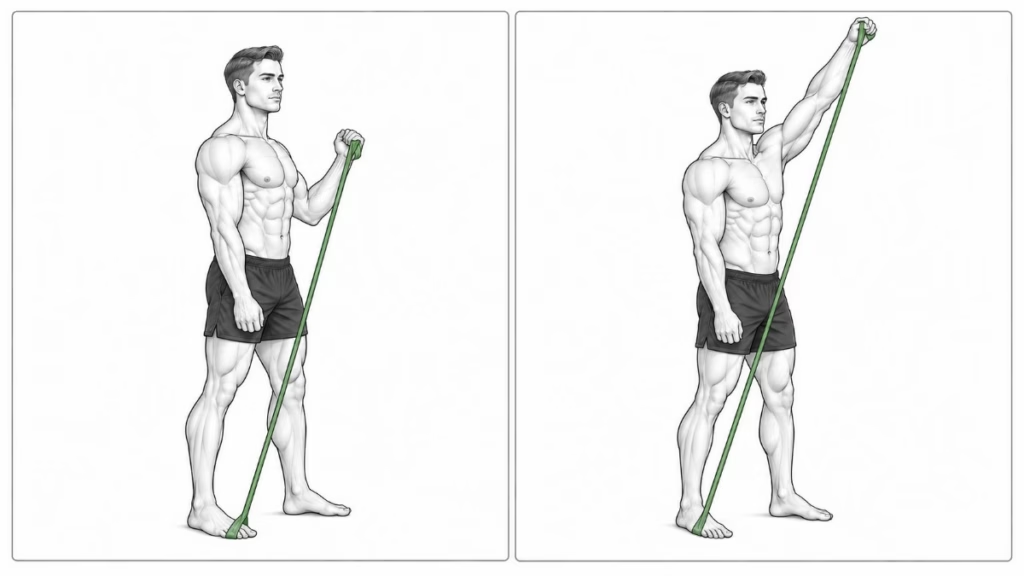
Stand on the band with one foot, hold the other end near your shoulder with your elbow bent, then press straight up until your arm is extended overhead. Lower with control back to the start. Keep your body upright through the whole rep — arching your back to help the band up is the most common way this one goes wrong.
4. Bicep Curls
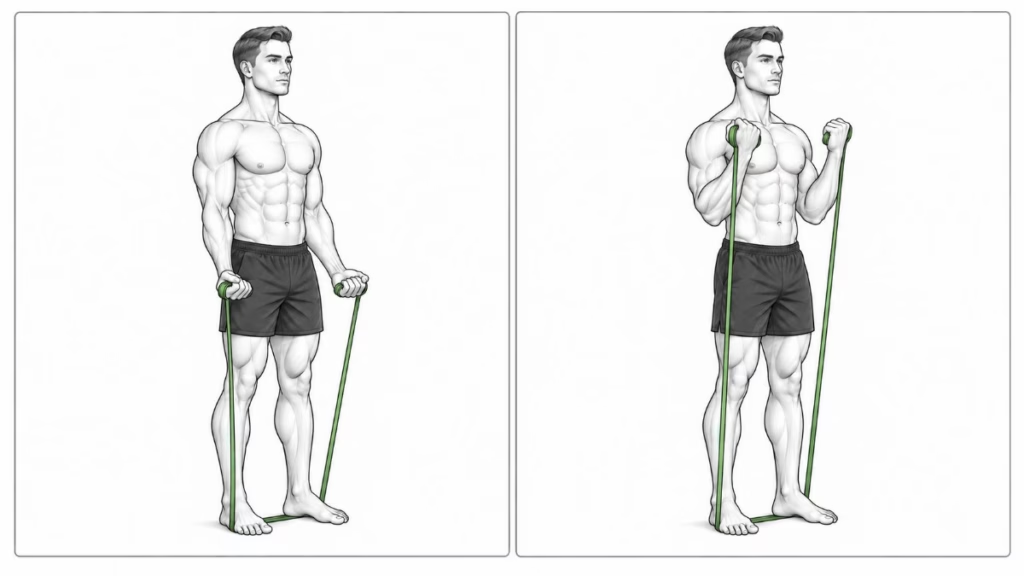
Stand with both feet on the band, one end in each hand, elbows bent at roughly 90 degrees. Curl your hands upward, pause briefly at the top, then lower with control. Keep your shoulders still and resist the urge to swing your torso to help the last few reps up — that’s the band winning, not you.
5. Tricep Extensions
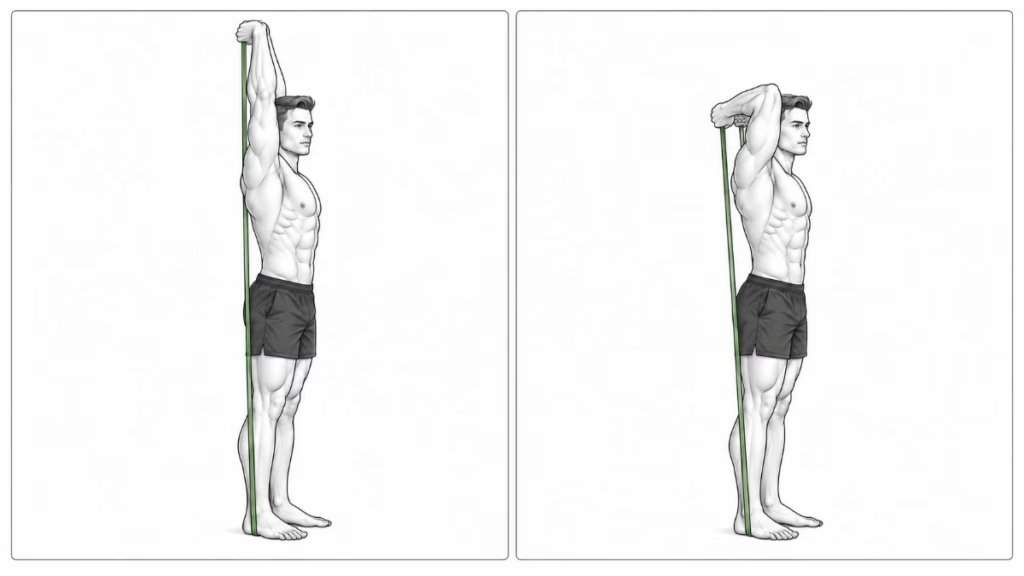
Step on the band to anchor it, hold the other end overhead with your arm extended, then bend the elbow to lower your hand behind your head. Straighten back out to return. The upper arm should stay pointed at the ceiling the entire time — if your elbow drifts out to the side, drop to a lighter band.
6. Lateral Raises
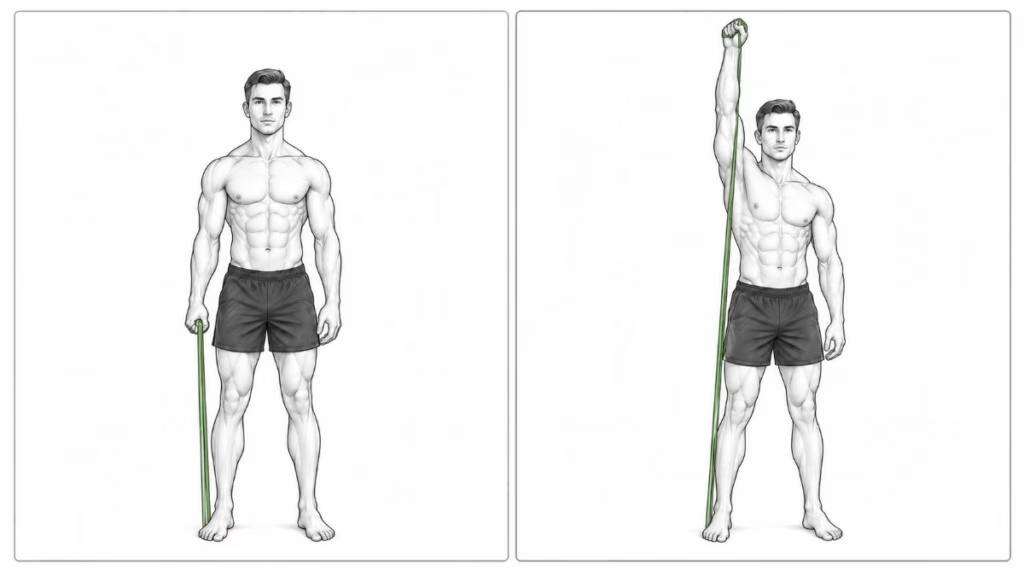
Stand with one foot on the band, hold the other end with a straight arm and thumb pointing up, then raise it out to the side until roughly level with your ear. Pause, then lower with control. Keep the shoulder blade steady rather than shrugging up as the arm rises — the shrug is what turns this into a trap exercise instead of a shoulder one.
7. Band Pull-Aparts
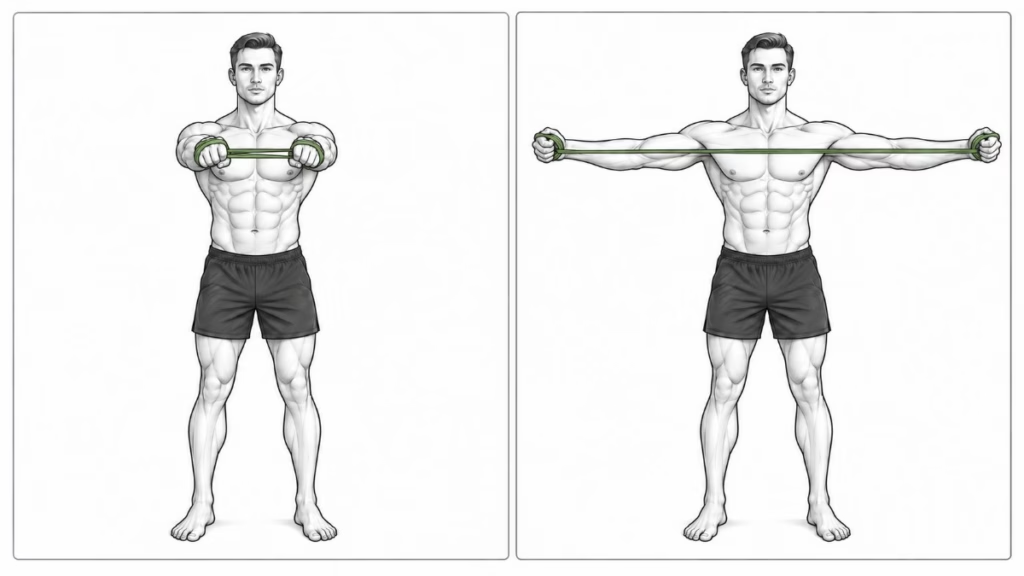
Hold the band with both hands at chest height with light tension already on it, then pull your arms out to the sides until they form a “T,” squeezing your shoulder blades together as you go. Return to the start with control. Drive the movement from your upper back rather than your arms, and keep tension on the band the whole way through — don’t let it go slack at either end.
Resistance Band Training FAQ
Are resistance bands actually effective for building muscle?
Yes, provided you’re progressing the resistance over time the same way you would with weights. The muscle doesn’t know whether tension is coming from a barbell or a stretched band — what matters is that the demand keeps increasing.
How do I know which resistance band to start with?
Pick one you can complete 12–15 reps of an exercise with while the last couple of reps are genuinely hard. If you’re cruising through 20+ reps with no fatigue, move up.
Can resistance bands replace weights entirely?
For most serious lifters, no — bands are best as a complement (travel, warm-ups, accommodating resistance, rehab) rather than a full replacement for progressive weight training. For beginners, rehab, or genuinely equipment-free settings, bands alone can be enough to build real strength.